Tuesday, November 20, 2018

Static Grass Application

If the grass at your mini's looks like it needs Viagra, then you should probably keep reading. For large area coverage, like a train set, you can't beat a real static grass applicator. But for miniatures large area coverage isn't really an issue, so pro applicators are a bit overkill. This leaves 2 options, buy pre-made clumps, or, have grass that looks like it was the sight of a Jenny Craig square dance.

Note the bad grass shown below, it's not just bad because it's growing out of cobble stones, it's bad because it's trampled flat.
Bad Static Grass
Below is an example of good grass, upright and alive amid a field of decay.

Good "Static" Grass
To make good grass tufts, all you need are some static grass, some fine tip tweezers and some superglue.  

Use the tweezers to take up a small clump of grass, comb off the excess with your fingers, so that all which remains is aligned, then just dab it into a drop of superglue. After 5 min or so blow off the excess. 

The clump of grass
Here is the clump after combing it with your fingers. [Use the thumb and forefinger of your opposite hand to push off the excess by moving your thumb and finger across (not along) the tweezers. When done correctly the excess material will be removed and all that remains is the grass held by the middle.]
Our dot of super glue is in place
Use the tweezers to stand the grass clump up in the glue, it will still be a bit bushy right now.
After blowing off the excess. A perfect tuft!
You can add it in clumps or little lines, they blend together into odd patters that look cool , sometimes less is more
Now go lay some turf! If you have questions, just ask.

DMGWLFP

Friday, November 2, 2018

Monday, October 29, 2018

Display case unboxing

As you may be aware, this page is advertisement free! However, I do occasionally include part numbers so that interested readers can get what I purchased, if they want... anyhow, this is a little different in that I don't know the part number. Or who made it. The case was purchased from Amazon, and the reviews were only mediocre, however as with all interweb crap results vary.
The reviews didn't like it because it was, "insert complaint here" (cracked, wrong size, etc.). Now, the average American isnt known for their great intellect, so half the problems probably arose from something mundane, such as the units being metric...
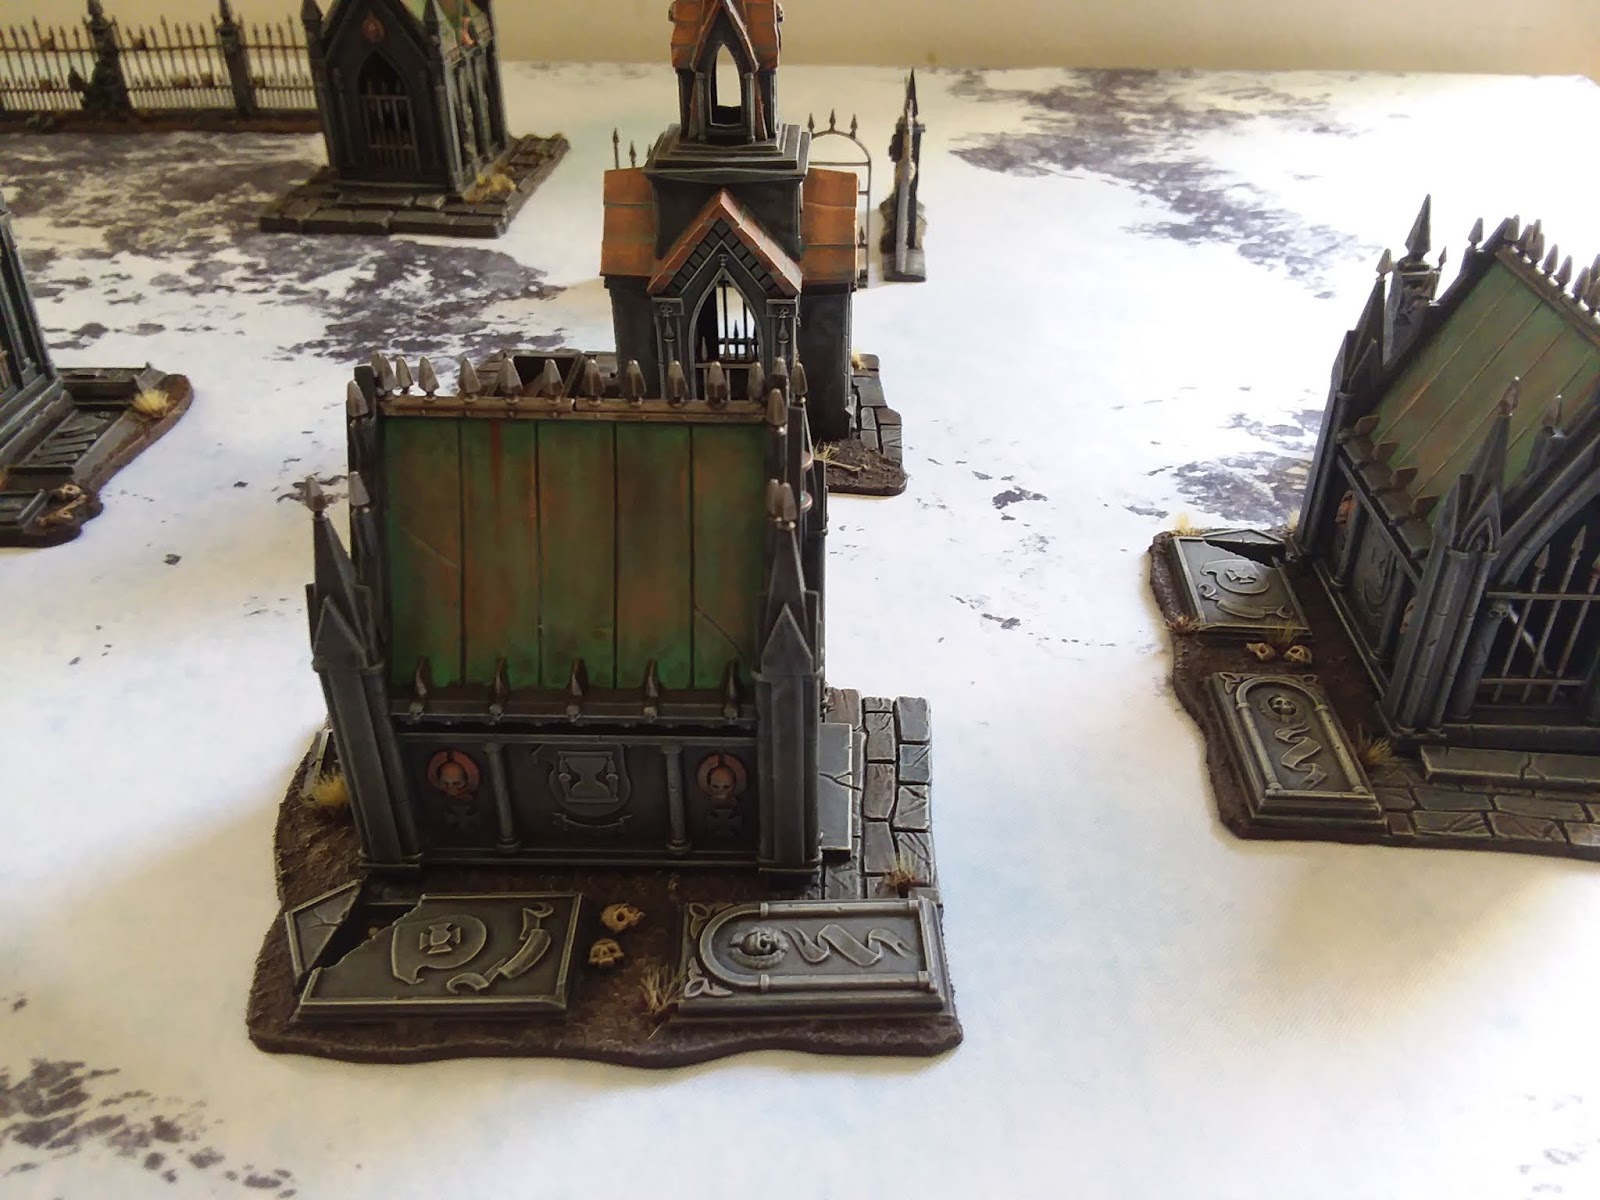
Anyhow, I hope to show in this unboxing, exactly what I got. Keep in mind that this box was inside yet another bigger box (with all the shipping details), and other Amazon crap we ordered. 
So there you have it. It was in a box, (that was inside yet another box, with other stuff, including air padding things), and, inside the former it was, wrapped in a soft foam, which was supported above and below by 2 foam plates, which were themselves supported at each corner by foam corners! Probably one of the better packing jobs I've seen. Now, it might not survive use as subflooring at a Jenny Craig square dance, but really, if yours was broken either your post man, or your old lady jumped on it... LOL


DMGWLFP... 

Thursday, October 25, 2018

So Many Dots.........

You can't argue with the results, but man is it tedious. Stippling is the actual term for this type of shading. For this type of lumpy skin it gives awesome results. Here's his good side.
Grenadier M313 Mounted Kobold (apparently)
Can you see the dots?
The rendering with this camera may not be adequate. 

Monday, October 22, 2018

Pinning

As they say in Chess, "you've got to pin it to win it". Pinning is a key skill that everyone needs to know how to do. This is an old Greadier sculpt, and as such it has some limitations. One of these is that it was originally just a little dagger, which is totally unacceptable, enter the pinning. 
Greadier M313 from 1989
As you can see I started by hacking off the dagger and then drilled out the interior to slide the pin through. Obviously the pin is small, as is the drill. Note the drill can easily drill out the inside if a standard Reaper spear handle. More to follow.

DMGWLFP

Mites are Based

The title says it all. That mites are based. Just some final touch ups.

Sunday, October 14, 2018

Mighty Mites

Well, I had 32 L of toluene to concentrate after separating a lot of material by column chromatography. Given that we are short on rotovaps I spent the weekend painting, while concentrating material... enter Reaper Miniatures Mites, by, Bobby Jackson. They're really small (for scale I've added a wine cork to the photo). They're pretty close to being done, just need final highlights and to finish off the coffee (base dirt, lol). I switched their bases for the smallest ones I had had, I think they look pretty good on this size base.
Reaper Miniatures "Mites" #60066 by Bobby Jackson
He looks totally unimpressed with the situation.
I picked these up just because they were so small and the faces were so expressive.
I got the "Yoda" like skin tone by using Tallarn Sand and Dryad Bark. Then Averland Sunset for the highlights.

I guess this qualifies as "Work In Progress".

DMGWLFP

Wednesday, October 3, 2018

Goblin Broome

Well, I think the title says it all. I'm pretty pleased with how it came out. This is my first time trying out stripes, and I think things went pretty well. Getting the highlights and lowlights on the stripes was hard.  


It's a rusty looking blade.

DMGWLFP...

Sunday, September 30, 2018

Space Hulk Brood Lord


It's been a while since I painted any Space Hulk stuff. Im not sure why, but I think it was due to the trauma of trying to paint a whole squad of Blood Angel terminators simultaneously.
Colour blocked? Not even close. 


Broodlord, pretty much done. I even used the "good" camera.


And we are done... Almost... Just a few final touches waiting to be done, maybe, none that anyone but I would notice...  :)


DMGWLFP!

Sunday, September 23, 2018

Broome's Goblin

So, got a lot done on this guy today (Reaper Miniatures 60006: Goblin Warriors, by Ben Siens). I thought I'd try out some stripes, but now it looks a little busy? Also, I have no idea what the kilt thing is, but I was hoping to make the "frills" like ruffles and hope that with the stripes it's a jester kind of look.
We'll just have to check in with Mr Broome and see what he thinks.


 DMGWLFP

Goblin for G.B.

I was keen to take a break from the Broodlord, who is big and I'm tired of working on him. Also, a friend of mine asked for a mini, literally months ago, so I figured now was a great time to take a break and get at it. I gave him 4 or 5 goblin warriors to choose from, and that's how we find ourselves here today.
I blocked the main body in a dark green, used a red wash over gray for the eyes, going for crazy, and made the teeth look pretty gross.
DMGWLFP 

Saturday, September 8, 2018

Tabletop-art.eu Miniature Review

When visiting Bavaria I found an awesome mini company. They are called by their online name tabletop-art.eu they feature minis made in Germany.  They have lots of bases and bits and some cool minis. I picked up Giant Boar 3, and he us for sure GIANT. He was €15, so not cheap, but it's a big lump of metal.

The mini went together well, and didn't require much liquid green stuff, it also came with a nice rock base.

To get an idea of scale check him out next to some other minis. 
There are 3 options available for the head, dont mind the paint splatter...

Monday, September 3, 2018

Black Paint Comparison GW vs MSP (part 2)

In a continuation of the last post. I'm comparing 2 different black paints. Games Workshop Abaddon Black (base) vs Reaper's MSP-HD Solid Black (29843). With the details out of the way here is how they look side by side. Interestingly the MSP (right) is less black, than the GW product, but due to the flat nature of the paint it can appear MORE black, if that makes sense. Since a picture is worth 1000 words.
Citadel on the left Reaper on the right.
Abaddon left, Solid Black right.


DMGWLFP

Wednesday, August 22, 2018

Scibor Dwarf Lord

A couple of months ago, (maybe a year?), I dunno, I picked up a bunch of dwarf lords from Scibor Monstrous Miniatures. The shipping was slow, but Poland is pretty far from California. Anyhow, I finally got around to painting one of them. 
Baldur Dwarf Lord 28FM0017


As an experiment of sorts, I went nuts with the metallic paint. I was trying to do lots on NMM Gold and iron and steel and whatever, but really I don't have the chops for that yet. With that in mind I tried to paint this dude with all the metallic paint I had on hand. I mostly used Gehenna's Gold, with mixes of that and Runefang Steel for the highlights. Most of the gold shading was done with Reikland Fleshshade (see the hammer).


I wish my last cloak turned out this good.
The other golds were more experimental, I actually watered down Golden Griffon, which is designed for drybrushing, but it's actually a pretty cool color. This was used on the shoulder pad decorations, it's alright.
Time for a bowl!


 Well that about covers it for now. Upcoming posts will be WIP (brood lord) and showing off this epic Boar that I picked up while on holiday.

DMGWLFP


Yeah he's got a pipe 

25th Anniversary Grim Reaper

This is Reaper Miniatures 25th Sliver Anniversary Grim Reaper 01600. I did him up as a gift. Things went just OK, the cloak is really big (a dominant feature), and I'm not 100% sure I did my best, but sometimes these things happen.

Silver Anniversary Grim Reaper 01600
While I'm not stoked on the cloak, I really like the skull, the wraps on the scythe, and the patina around the bolts on the copper. I also think I didn't bugger up the hourglass too much. :P

DMGWLFP

Age of Sigmar, Sigmarite Mausoleum

It's official (well no, not really), but the Age of Sigmar, Sigmarite Mausoleum, is pretty sweet terrain for Frostgrave. The evidence I have is as follows:
Exhibit A (for Awesome)


Take note of the sweet looking patina on the roof.
Exhibit B (for Badass)
Note the overall composition.
Exhibit C (for Crazy paint job)
I'd love to take credit for this work, but sadly I can't. What I can tell you is that the Sigmar stuff made for a pretty sweet game of Frostgrave. Also, if you're looking for a sweet copper roof aged to perfection I can let you in on a little secret; Games Workshop Screaming Bell. You can have your own sweet looking copper roof in a flash.

DMGWLFP